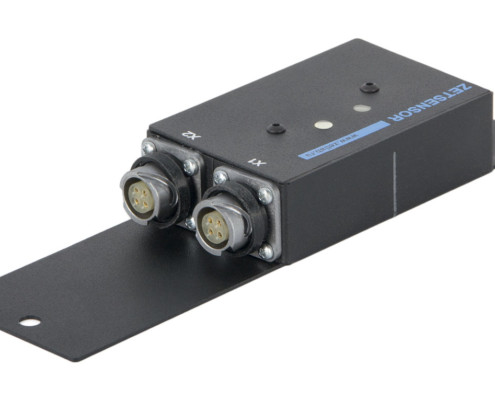
ZET 7010 DS digital strain-gauge transducer

  • Stress-strain testing
  • RS 485 data transfer interface
  • Structural health monitoring system element
  • Self-diagnostics

POR (price on request)

* Minimum order value: from 7 700 USD

SPECIFICATIONS

of ZET 7010 DS digital strain-gage transducers

METROLOGICAL PERFORMANCE
Parameter measured strain, micro-strain (mechanical tension)
Transducer type with integrated sensing element
Measuring range 0…1 600 µm/m
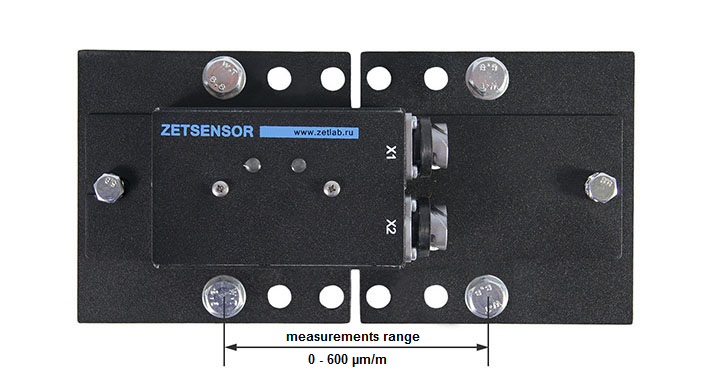
Measuring range without mounting plates 0…300 µm/m
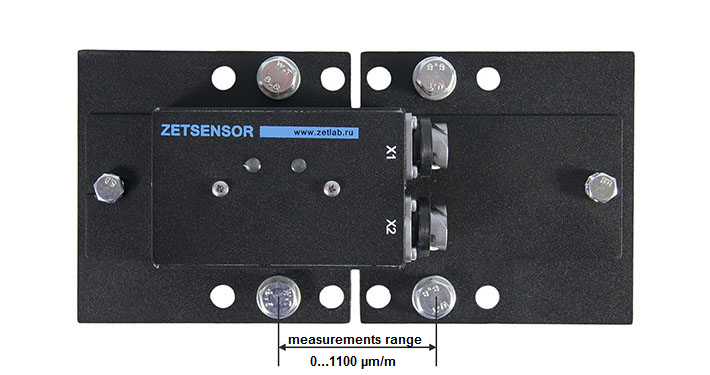
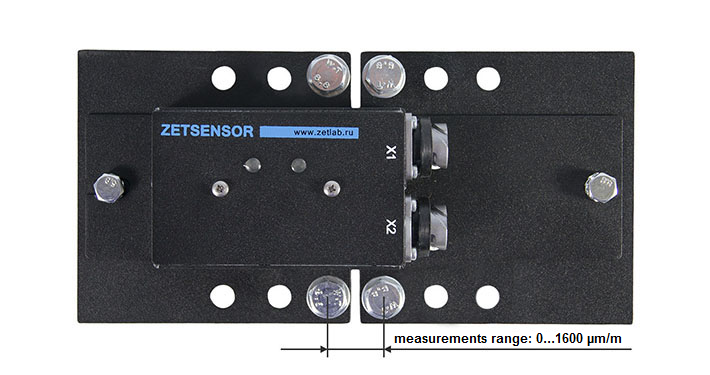
Measuring range with mounting plates (at different anchoring points) 0…600 µm/m
0… 1 100 µm/m
0… 1600 µm/m
Threshold sensitivity for ranges, µm/m:
0 to +300
0 to +600;
0 to +1100;
0 to +1600.
2 µm/m
4 µm/m
8 µm/m
12 µm/m
Temperature influence on sensitivity, by 10 °C (from measuring range) 2 %
Zero drift for 24 hrs 0.5 %
Restoring force 1,500 N
Breaking strain (without mounting plates) 500 µm/m
SPECIFICATIONS
Data interface RS-485
Exchange rate 4,800, 9,600, 14,400, 19,200, 38,400, 57,600, 115,200 bit/s
Rate of data update 1 Hz
Parity check 0 — no check, 1 — check (odd parity, ODD)
Exchange protocol Modbus RTU
PERFORMANCE PARAMETERS
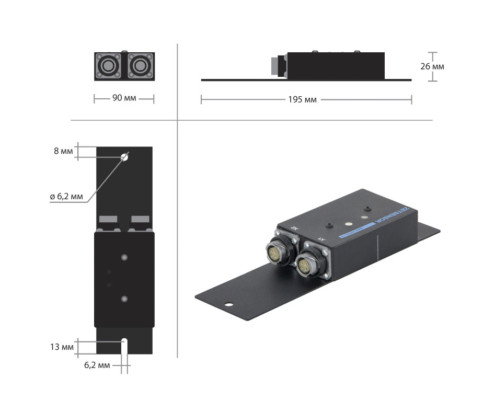
Dimensions 197×56×30 mm
Weight 300 g
Device power 9 to 24 V
Power consumption 0.5 W
Polarity reversal protection available
Operation temperature range -40 to +100 °C
Version Standard (protection index IP65)
Explosion-proof* (explosion protection, type 0ExiaIICT6 X)
ELECTROMAGNETIC COMPATIBILITY EMC
MEK 61000-4-2 (IEC 61000-4-2), ESD contact 8 kV, air 15 kV
MEK 61000-4-4 (IEC 61000-4-4), EFT power 4 kV, signal 2 kV
MEK 61000-4-5 (IEC 61000-4-5), Surge 4,000 V

In EVEN mode, parity check is not supported. Modbus ASCII not supported.

* Cost to be calculated on individual basis

  • COMPUTING METHOD

    Input data are converted into resultant or, according to linear law with tilt set as transfer ratio or, according to piecewise linear law as per calibration table

  • SYNCHRONIZATION

    Interface converter synchronizes digital transducers with each other. This enables monitoring interaction at different points (location of digital transducers) of the object and plotting distribution diagrams.

PURPOSE

of ZET 7010 DS digital strain-gage transducers

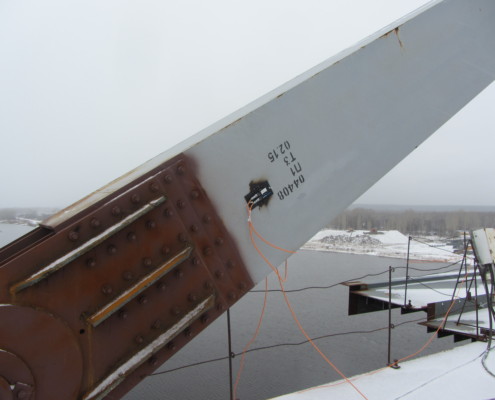
Digital small strain gauge sensor ZET 7010-DS transducer is purposed for tensile-compression control of concrete structures, it is used in SHM (structural health monitoring systems). These transducers can be used in stationary and mobile SHM systems.

Digital strain-gage transducer is used to assess stressed strain behavior and give a warning signal when strain elastic zone is exceeded, and transition to the irreversible deformation zone occurres.

ZET 7010 DS digital strain-gage transducers are manufactured in industrial sealed casing for dust and moist protection and enhanced shock resistance.

ZET 7010 DS digital strain-gage transducer allow to conduct indirect measurements, related to deformation control (bending, torque, force). It should be noted, that in this case, the sensitivity of the transducer is evaluated by means of the on-site calibration. The adjustment ratio is set in the “Formula” program available in ZETLAB Software.

PRACTICAL APPLICATION

of ZET 7010 DS digital strain-gage transducers

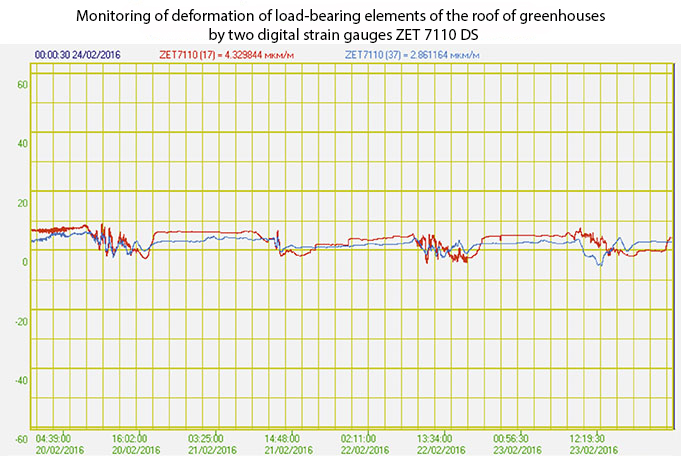
Stress strainstate

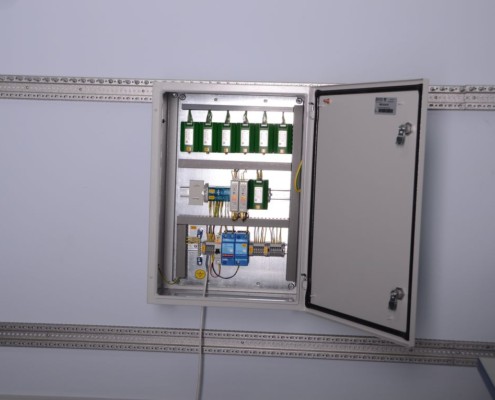
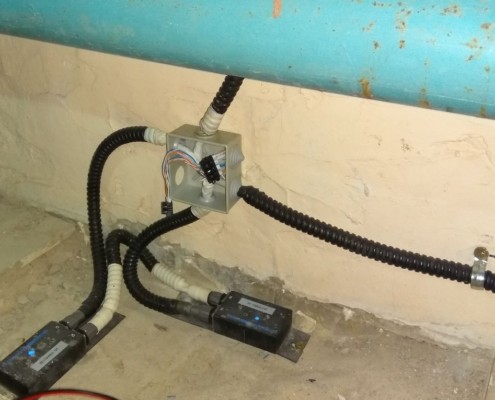
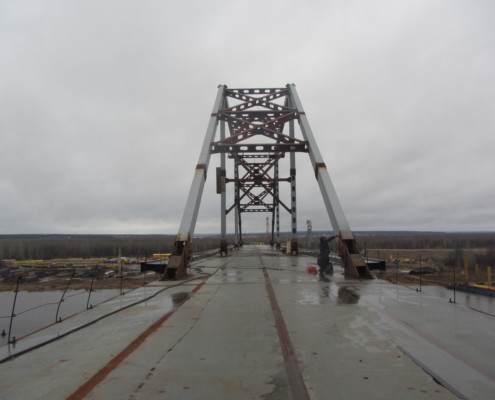
Monitoring system of stressed strain behavior and displacement of engineering structures points is implemented on 7010‑DS digital strain-gage transducers, which are the instrument.

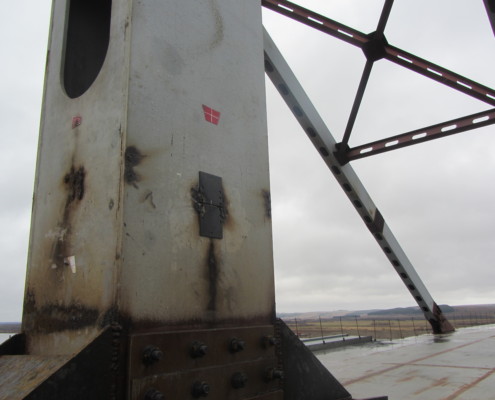
Deformation monitoring

OPERATING PRINCIPLES

of ZET 7010 DS digital strain-gage transducers

Digital small strain gauge sensor ZET 7010-DS transducer includes primary transducer and digital measuring module ZET 7010.

Each digital strain-gage transducer can be configured individually pursuant to requirements set to the measurement. Configuration is saved in the ZET 7010 measuring module flash memory; thus, application of digital strain transducers allows starting measurements without additional processing and adjustments.

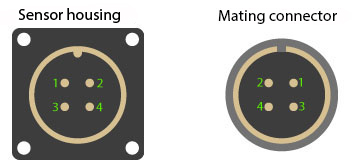
Digital smalll strain gauge sensor ZET 7010-DS transducers have 2 four-pin plugs FQ14-4ZK-S for connection to instrument communications net (scope of delivery includes a female connector).

Digital Sensor Connectors
CONTACT NUMBERDESIGNATION
1+(9…24) V
2RS-485 line “B” or “DATA-“
3RS-485 line “A” or “DATA+”
4GND

MOUNTING

of ZET 7010 DS digital strain-gage transducers

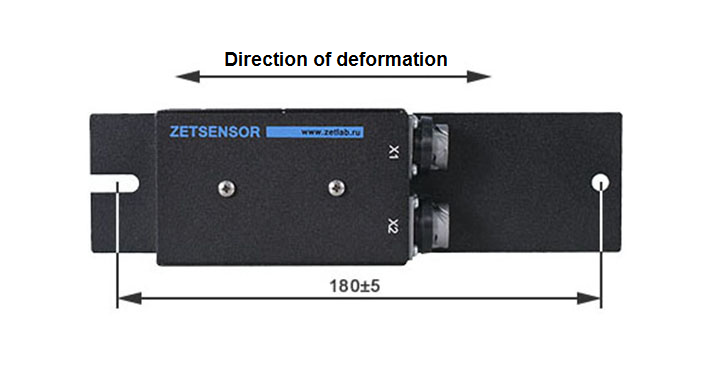
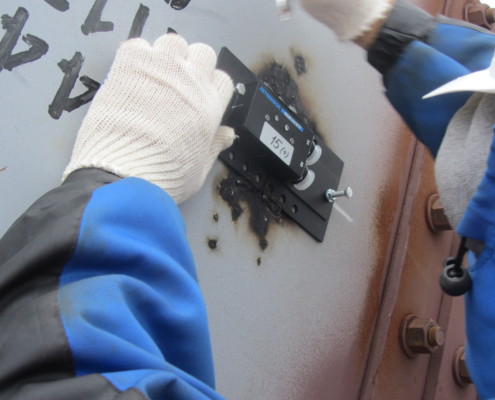
For strain monitoring, transducer shall be fixed on measurement object in such a way that transducer anchoring axis aligns with the direction of controlled strain.

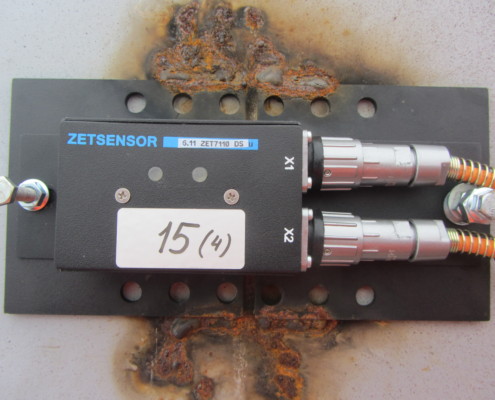
Transducer is anchored to the measurement object at two points via n6.2 mm hole on one side of transducer and a 6.2 mm wide slot on the other side of transducer, which allows transducer anchoring with 180±5 mm base to apex.

The transducer is mounted on the structural elements exposed to the tensile load at the areas, that are exposed to the minimal possible load. In addition to proper mounting technique of the transducer, it is also necessary to provide minimal preliminary strain of the sensitive surface. To do that, after havng fixed the first connection point of the transducer, apply the load of 10-30N (1… 3 kg) to the second connection point of the transducer prior to fixing it.

When transducers are mounted on concrete surfaces, anchor studs or M8 female-threaded anchors shall be used.

Installation on metal surfaces – using M8 weld studs, or M8 bolts to fixing holes.

When anchoring ZET 7010 DS transducers, reliable fixation must be provided at anchor points to exclude slipping, for which star lock washers DIN 6798 A (outward claws) M8 are recommended.

In the case of deformation measurements within limit of 300 µm/m, the connection points of the transducer are exposed to the load up to 1500 N (150 kg), thus, it is necessary to secure sufficient bolt tightening force, so that to prevent slipping at the mounting points.

The transducer is intended for tensile deformation measurements, thus, the presence of bending and twisting deformations will result in minor inaccuracy of measurement results. 

INSTRUMENT COMMUNICATIONS NETWORK DIAGRAM

of ZET 7010 DS digital strain-gage transducers

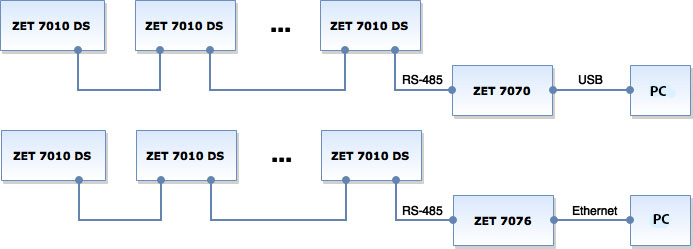
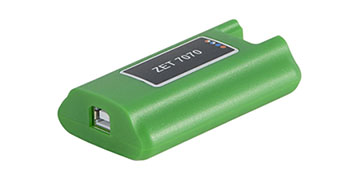
When installing instrument communications net, series connection is used for ZET 7010 DS transducers, the resulting instrument chain-work is connected to computer via interface converter ZET 7070 (RS-485 ↔ USB) or ZET 7076 (RS-485 ↔ Ethernet).

Number of transducers connected to ZET 7070 module without external power unit is 2 maximum, and 60 when operating.

Measurement network based on digital strain-gauge transducers of ZET 7010 DS series

Measuring network based on digital strain gauges DS

ZETLAB software supports connection of up to 200 digital transducers to one computer. Instrument communications networks can also be connected to any system that uses Modbus protocol via RS-485 interface.

For the purpose of visual representation of the measured values, there are used such programs, as “DC Voltmeter”, “Multi-channel recorder”, etc., these programs are included into the scope of ZETLAB SENSOR software package (which is supplied together with the interface modules). In the case, if visual presentation of a variety of measurement channels is required, you can use the program “Multi-channel measurement system”. Depending on program settings, the measurement results can be represented by force, weight, displacement, torque, and other parameters.

CONTROL

of ZET 7010 DS digital strain-gage transducers

When digital transducers are manufactured, all essential settings are saved in ZET 7010 DS measuring module memory. In case you need to tune digital transducer yourself, for example, during periodic recalibration, you have to connect the device to computer over ZET 7070 interface converter and run the “Device Manager” program.

Below you can see an overview of digital strain-gage transducers configuring, values for DS modules specified, where resistive strain gage half-bridge connection circuit is used.

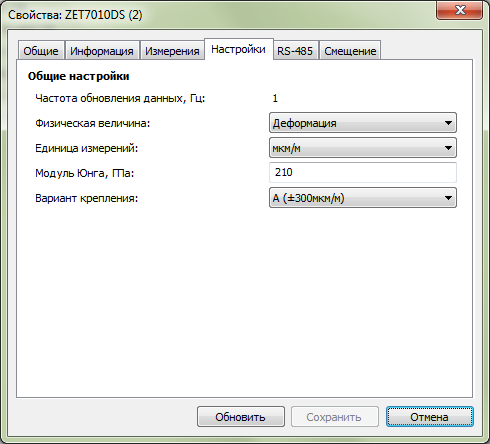
“Settings” tab

Intended for measuring channel adjustment.

Settings tab 7110

PARAMETER VARIABILITY PERMISSIBLE VALUES DESCRIPTION
Rate of data update, Hz Yes 1
5
25
125
sampling frequency (for digital ZET7110 DS)
Physical quantity Yes Strain
Tension
Value of “Strain” parameter shall be selected when it is required to monitor relative strain.
Value of “Tension” parameter shall be selected when it is required to monitor tension and the Young modulus for the tested material is known
Measurement unit Yes µm/m
mm/m
cm/m
m/m
%
Pa
kPa
MPa
Specified measurement units to identify physical units used for measurement.
Measurement units − µm/m, mm/m, cm/m, m/m, % all belong to parameter Physical quantity – “Strain”.
Measurement units − P», kPa, MPa belong to parameter “Physical quantity” – “Tension”
Young modulus, GPa Yes Young modulus (elastic modulus) − Physical quantity, describing the material ability to resist stretch.
This parameter is only set in case when “Physical quantity” parameter is set – “Tension”
Anchoring variant Yes A (±300 µm/m)
B (±450 µm/m)
V (±600 µm/m)
G (±1800 µm/m)
Measuring range depends  on the variant of digital transducer anchoring

“Measurements” tab

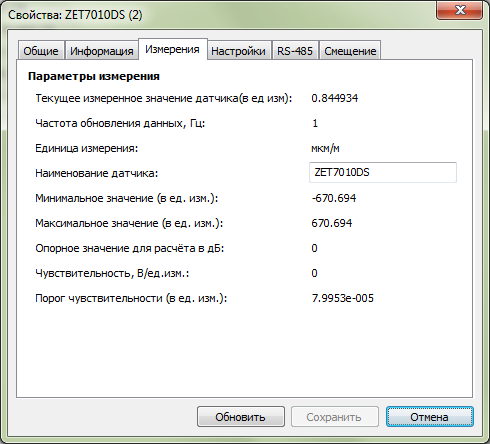
The “Measurements” tab shows instrument channel info. Name of instrument channel can be set on this tab.

Measurements tab 7010

“Drift” tab

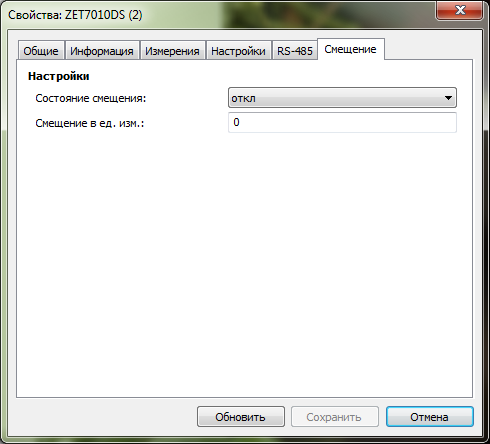
On “Drift” tab, transducer reading drift is set.

Offset tab 7010

PARAMETER VARIABILITY PERMISSIBLE VALUES DESCRIPTION
Drift state Yes off
on
Turn on/off recalculation of current measured value to the value specified in parameter “Meas.unit drift”
Meas.unit drift Yes The value is specified that must be set as the digital transducer current reading. Further, reading alterations shall be tracked related to the specified value

Examples of various options of the “Drift” functionality application
when using digital transducers

Example No.1
It is known that by the time of digital transducer installation, structural element was subjected to 500 MPa stress. In order to account for pre-stressed condition of the structural element, one should input “500” in the “Meas.unit drift” edit box; and select “on” parameter in the “Drift status” edit box, upon which press “Save” button. Digital transducer begins tracking tension alterations of the monitored structural element, accounting for pre-stressed condition – 500 MPa.

Example No.2
After resistive strain gages are installed, the monitored structural element shall be in position related to which one have to start measuring strain thereof. One should input “0” in the “Meas.unit drift” edit box, in “Drift status” edit box select “on”, upon which press “Save” button. Digital transducer begins recording strain of the structural element as related to the pre-set zero value.

Configuring overview

ZET 7×10 DS digital transducer is equipped with bridge connection integrated resistive strain gage.

While configuring the ZET 7×10 DS digital transducer the following issues are essential:
—  To measure relative strain set the following parameters in “Settings” tab:
—  Physical quantity – “Strain”;
—  Measurement unit – set needed measurement units (µm/m, mm/m, cm/m, m/m, %);
—  Anchoring variant – select the variant to anchor ZET 7×10 DS digital transducer (“A (±300 µm/m)”, “B (±450 µm/m)”, “V (±600 µm/m)”, “G (±1800 µm/m)”).
— To measure the material tension, set the following parameters in “Settings” tab:
—  Physical quantity – “Tension”;
—  Measurement unit – set the required measurement units (Pa, kPa, MPa).
—  Young modulus, GPa – specify elastic modulus of the monitored structural element material (values of elastic modulus for some materials are given in table below);
—  Anchoring variant – select the variant to anchor ZET 7×10 DS digital transducer (“A (±300 µm/m)”, “B (±450 µm/m)”, “V (±600 µm/m)”, “G (±1,800 µm/m)”).

MATERIAL VALUE OF ELASTIC MODULUS E (GPa)
Aluminum 69
Copper 100
Steel 210
Glass 60
Concrete 20

Download

user manual for operation of the digital transducers

* Mounting plates are purposed to anchor digital transducers onto metal surfaces.

Pb_free
Directive 2011/65/EU (ROHS, ROHS II)

DIGITAL TRANSDUCERS MEET THE REQUIREMENTS OF DIRECTIVE 2011/65/EU (ROHS, ROHS II) CONCERNING LIMITATION TO USE HAZARD SUBSTANCES (PB, HG, CD, CR(VI)) IN ELECTRICAL AND ELECTRONIC EQUIPMENT; THEY ARE MANUFACTURED USING LEAD-FREE METHOD, IN COMPLIANCE WITH THE EUROPEAN COMMUNITY REQUIREMENTS

RoHS-Comliance

STANDARD CONFIGURATION

ZET 7010 DS digital strain-gage transducers

Basic delivery set

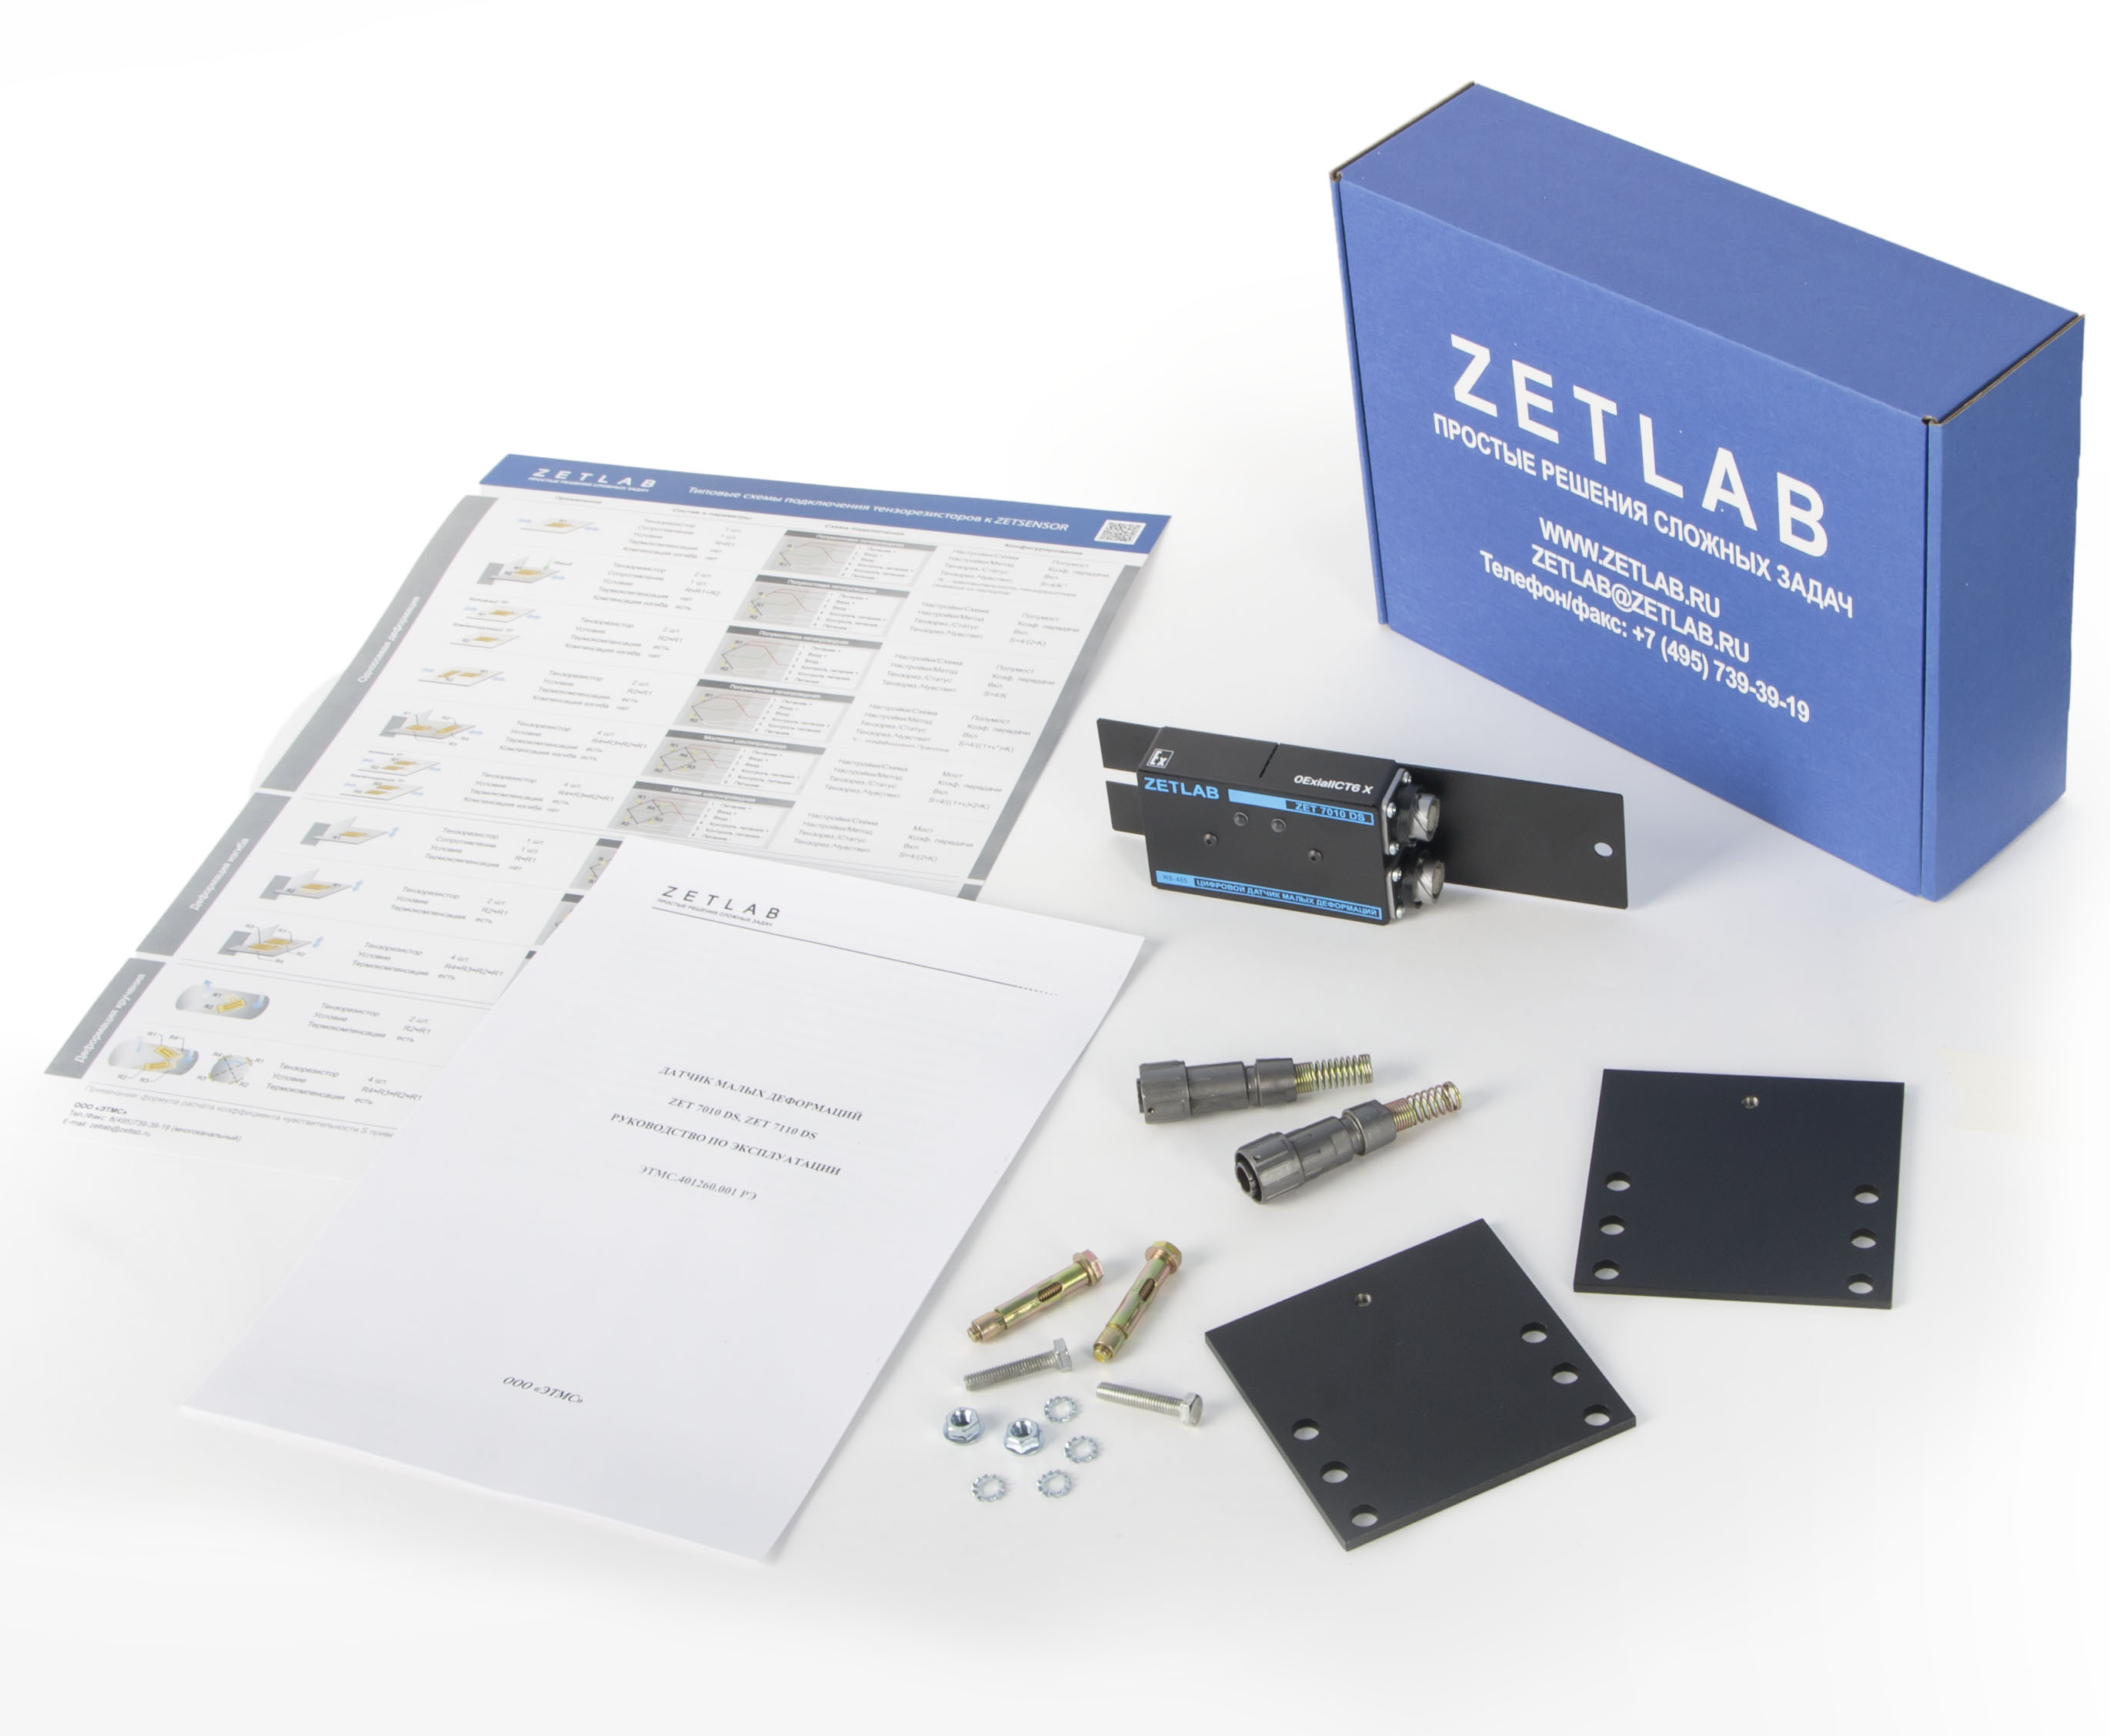
Standard supply package of strain-gage transducer includes the following:

  • ZET 7010-DS digital transducer;
  • FQ14-4TJ-7 cable plug (2 pcs.);
  • 7 mm spring connection to plug (2 pcs.);
  • mounting plates*;
  • No.3 mounting kit for ZET 7×10-DS;
  • package of operational documents.

*Mounting plates are intended for mounting of the digital transducers to steel surface.

The item is delivered separately (on request).

POR (price on request)

* Minimum order value: from 7 700 USD

Order form - If you want to place an order or to make a request regarding technical specifications of particular product, fill out the form below:

Data protection notification

Please note that the personal data provided by you is used exclusively for the purposes of fulfilling our contractual obligations, including, but not limited to: issuing invoices, delivery documents, documentation relating to customs clearance process, etc. We do not provide your personal data to any third party except for the purposes relating to our direct contractual obligations. Upon completion of order processing and expiry of the warranty period for the Products provided by our Company, we do not store or process any of your personal data. Please note, that our Company’s Confidential policy does not imply any advertising or marketing activities with the use of your personal data (including your Company name, address, your E-mail, phone number and other information provided by you with a view to placing an Order and organization of the Delivery).

ESSENTIAL MEASUREMENTS EQUIPMENT SUPPLIED UPON EXTRA ORDER

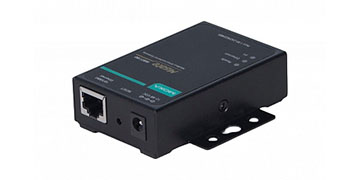
Interface converter ZET 7076 Ethernet/Wi-Fi ↔ RS-485
ZET 7076 interface converter
Ethernet connection