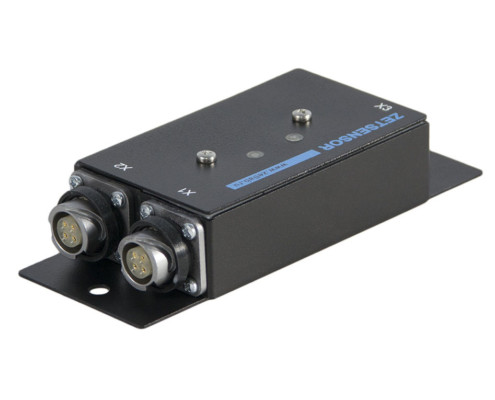
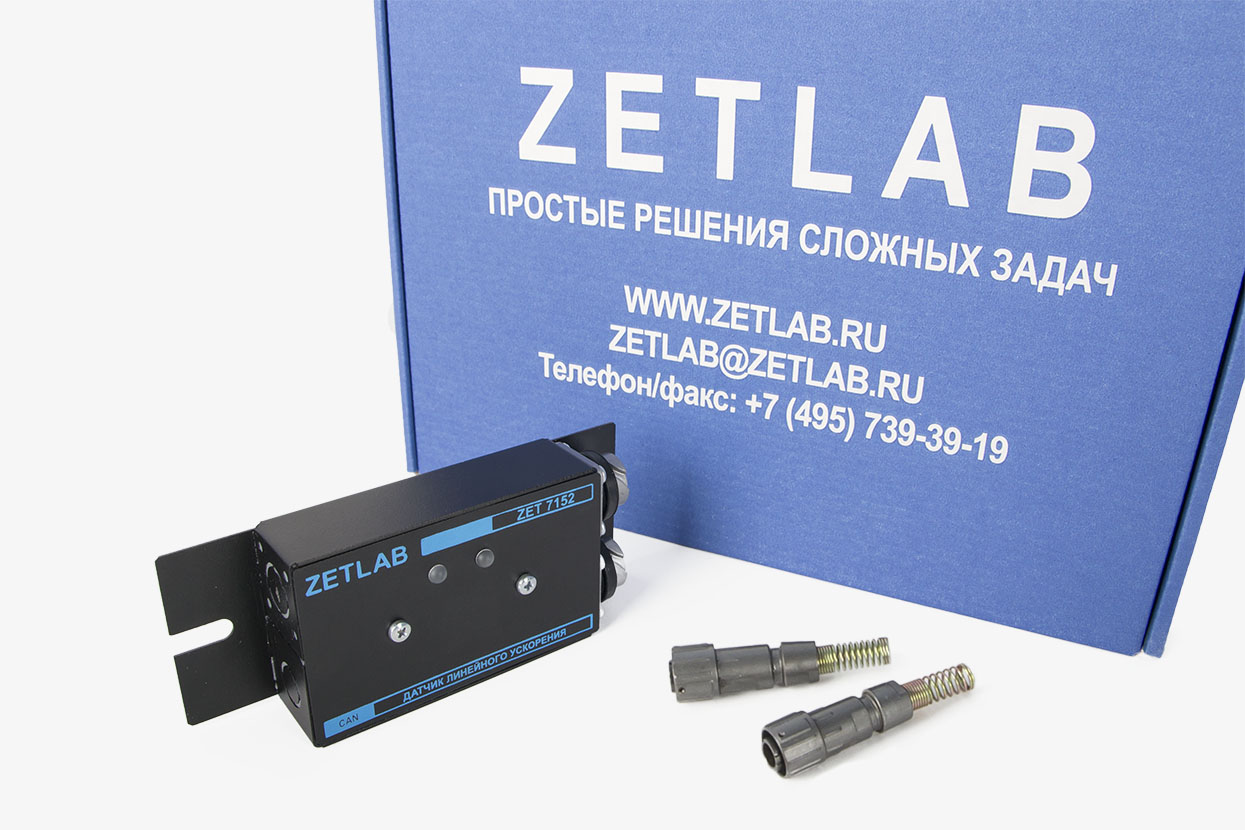
Digital accelerometer ZET 7152-N-VER.1

  • Triaxial sensing element (measurement by axes X, Y and Z)
  • Measured parameters: linear acceleration
  • Linear acceleration measurement range:  from -70 m/s2 up to 80 m/s2
  • CAN 2.0 interface
  • Industrial version

POR (price on request)

* Minimum order value: from 7 700 USD

Note

The minimal kit required for measurements performance includes a digital transducer and an interface converter with ZETLAB Software.
The interface converter is to be purchased separately.

SPECIFICATIONS

of digital accelerometer ZET 7152-N-VER.1

Instant values measurements: Specifications
Measurement range (to be set in the software) ±2 g (±18 m/s2)

±8 g (±70 m/s2)

Output at 0 g ±25 mg
Frequency range from DC up to  800 Hz
Measurements tolerance (non-linearity, intrinsic noise) 6 % FSO
Offset 0 g, additional (caused by temperature fluctuations) ±0,2 mg/10°C
Measurements tolerance (caused by temperature fluctuations) ± 0,1 % FSO/10°C
Interaxial sensitivity 1 %
Sampling rate* 250, 2500 Hz
Technical specifications
Data transfer interface CAN 2.0
Exchange speed 100, 300, 1000 kbit/s
Perfomance monitoring in real-time mode Synchronization quality, data quality
Measurements reliability control Sensing element integrity control
Operational specifications
Device power  9 – 24 V
Power consumption 0,5 W
Reverse polarity protection yes
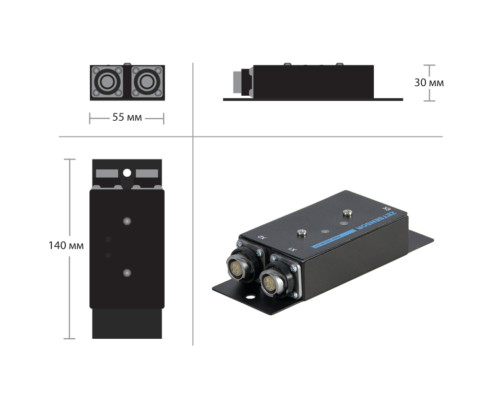
Dimensions 140×56×28 mm
Weight 300 g
Operation temperature range from  -40 up to  +80 °C
Available product versions Standard (steel package)
Explosion-proof** (explosion safety of 0ExiaIICT6 X type)
OEM (compound coating)
Electromagnetic compatibility EMC
IEC 61000-4-2, ESD contact 8 kV; air 15 kV
IEC 61000-4-4, EFT power supply 4 kV; signal 2 kV
IEC 61000-4-5, Surge 4000 V

* Data compression algorithm – delta-coding with the posiibility of  flexible data traffic distribution between the CAN-network transducers
** The cost is calculated on individual basis

  • Synchronization

    Interface converter enables synchronization of digital sensors. This allows to observe mutual infuence in various measurement points. Synchronization accuracy at 1000 kbps CAN speed  is ±1 µs.

PURPOSE

of Digital accelerometer ZET 7152-N-VER.1

Digital accelerometer ZET 7152-N-VER.1 has a compact triaxial sensing element; it is purposed to measure linear acceleration and vibration acceleration variable component in three mutually perpendicular planes.

Light weight of sensing element (only 1.5 g) considerably decreases  self-mass load effect, and compact dimensions (8.5×8.5×8.5 mm) allow using ZET 7152-N-VER.1 digital accelerometer to measure vibration in small work-area systems.

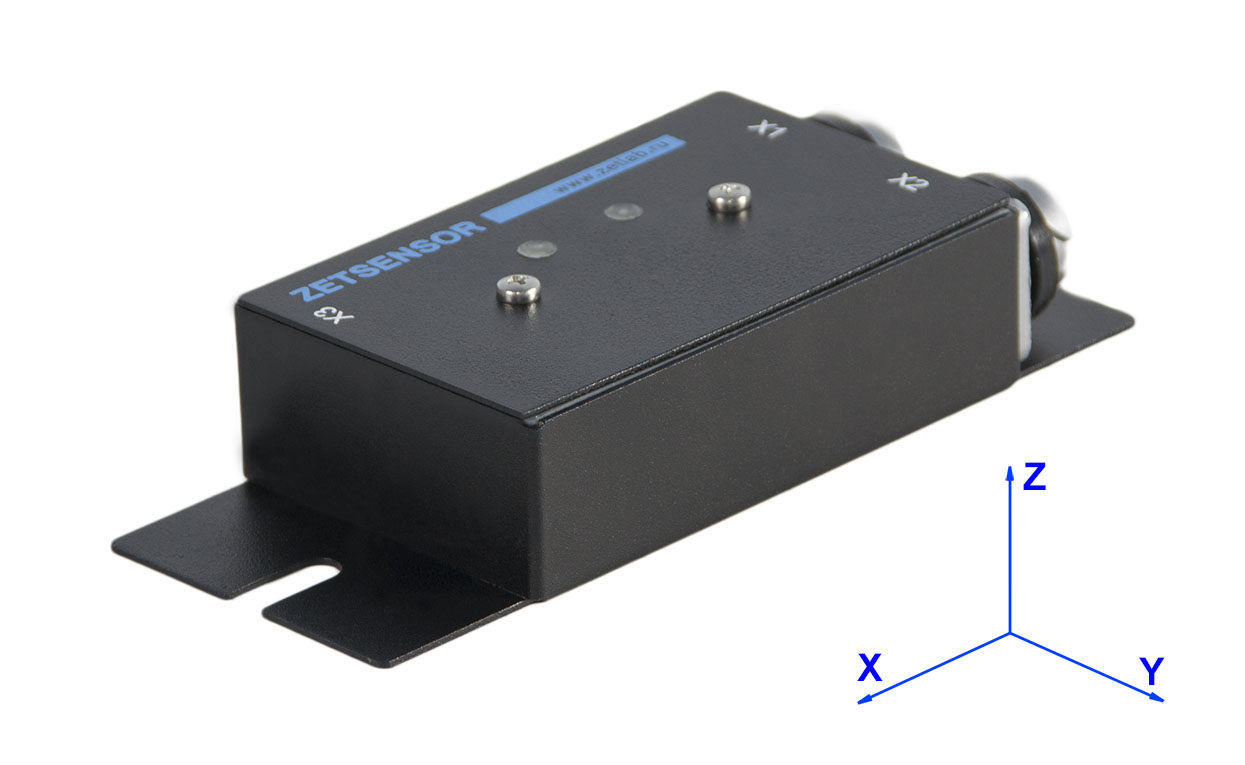
When installing ZET 7152-N-VER.1, orientation of measuring axes must be observed (shown on digital transducer casing).

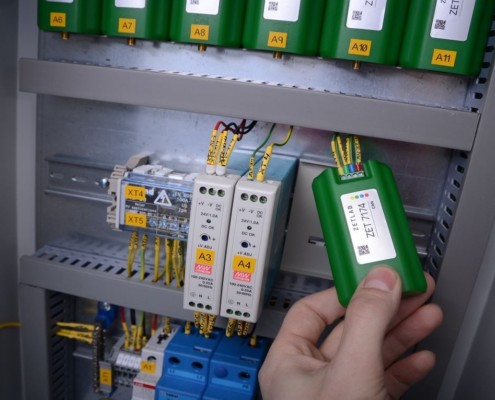
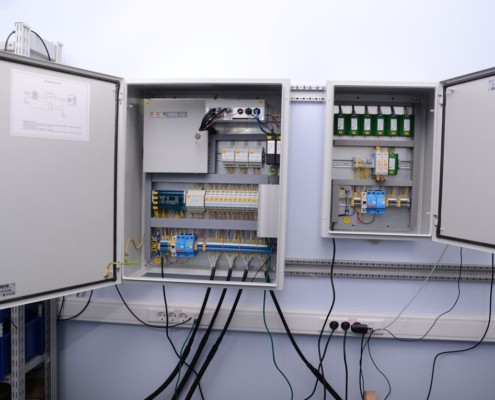
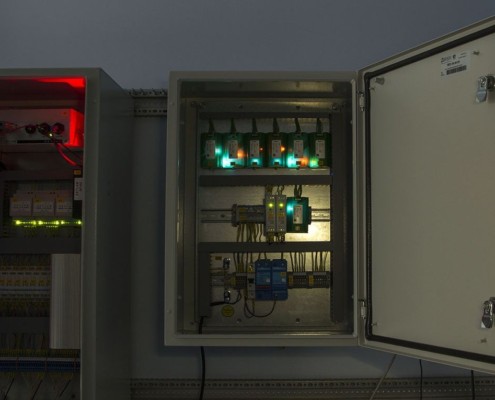
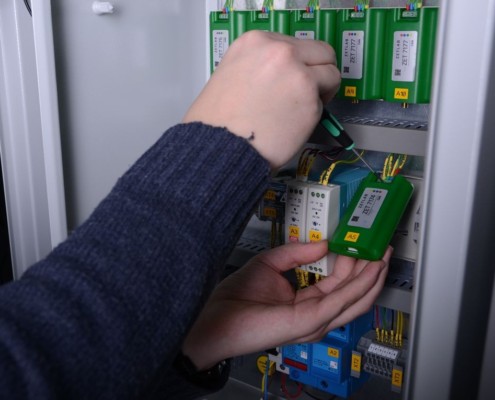
The sensors are mounted on the controlled object and connected to data acquisition nodes represented by electrical cabinet with interface modules.

Electrical cabinet by ZETLAB is more compact than currently available analogs. Among ZETSENSOR advantages one should mention easy mounting and de-installation as well as power supply and signal indication, which contribute to easy in-place diagnostics of the system.

OPERATING PRINCIPLES

of ZET 7152-N digital accelerometers

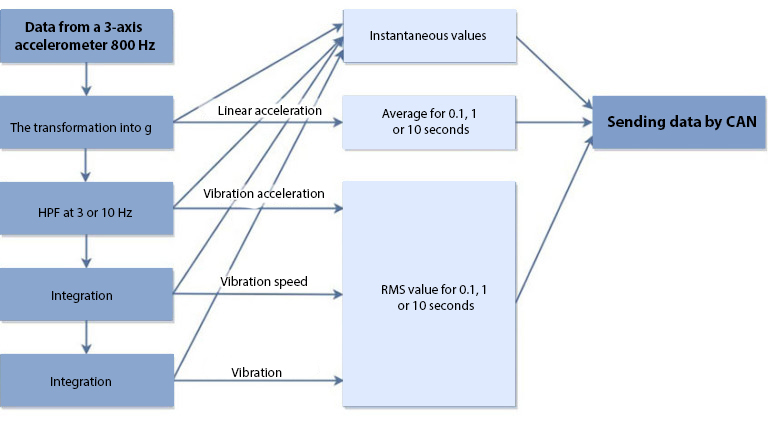
Digital accelerometer ZET 7152-N-VER.1 is a vibration transducer with integrated triaxial sensing element, transducing the acceleration constant component into digital code by three mutually perpendicular axes X, Y and Z.

Integrated processor mathematically computes magnitudes of vibration velocity and vibration displacement. Averaged value is calculated as a mean for linear acceleration and root-mean-square for all the rest parameters.

Direction of measuring axes for digital sensors ZET 7X52

Direction of measuring axes for digital sensors ZET 7X52

Structural scheme of data transmission ZET 7152

Structural-scheme-of-data-transmission-768x422

ADVANTAGES

of digital accelerometer ZET 7152-N-VER.1

NO ADJUSTMENTS REQUIRED

characteristics are saved in the transducer memory

MEASUREMENT RESULTS

measurement results are transmitted in digital format

EXTENDED RANGE*

measuring range extension up to 200 g

RELIABILITY

consistent accuracy and high reliability

Pb_free
Directive 2011/65/EU (ROHS, ROHS II)

DIGITAL ACCELEROMETERS MEET THE REQUIREMENTS OF DIRECTIVE 2011/65/EU (ROHS, ROHS II) CONCERNING LIMITATION TO USE HAZARD SUBSTANCES (PB, HG, CD, CR(VI)) IN ELECTRICAL AND ELECTRONIC EQUIPMENT; THEY ARE MANUFACTURED USING LEAD-FREE METHOD, IN COMPLIANCE WITH THE EUROPEAN COMMUNITY REQUIREMENTS

RoHS-Comliance

MEASURING NETWORK DIAGRAM

based on digital accelerometer ZET 7152-N-VER.1

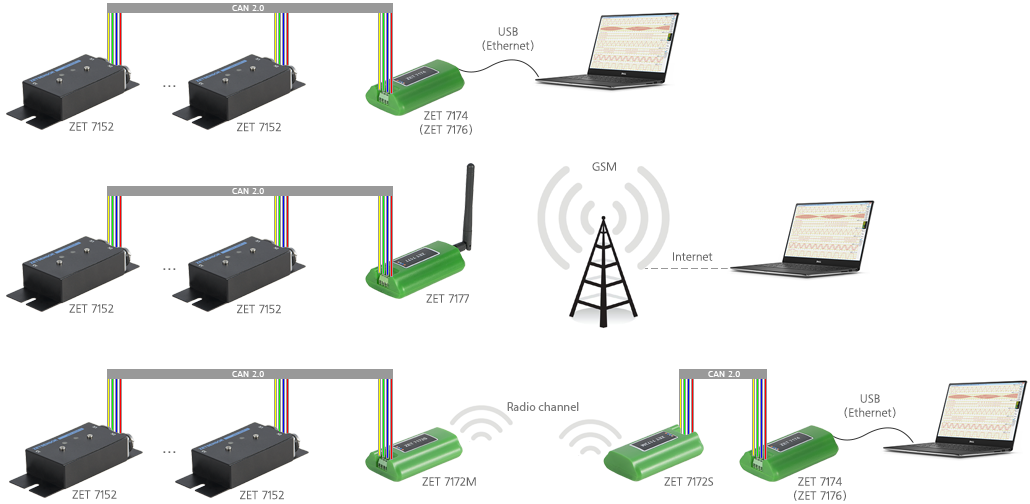
Based on ZETSENSOR series transducers and control devices, distribution instrument communications nets, automated systems, control and regulation systems are developed. ZETLAB and ZETVIEW interface converters are used to connect instrument communications net to systems. ZETLAB software supports connection of up to 200 transducers to one computer.

The figure shows instrument communications nets diagram based on ZET 7152-N-VER.1 digital accelerometers with integrated gauge, with possible connection variants.

Measuring-network-based-on-sensors-ZET-7152

PRACTICAL APPLICATION

of digital accelerometer ZET 7152-N-VER.1

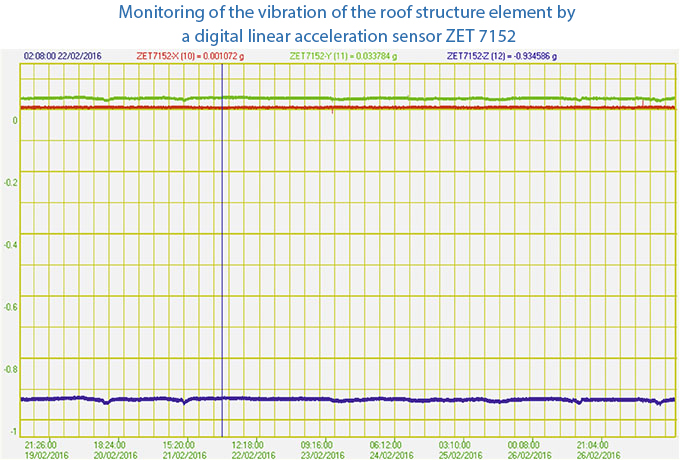
Monitoring-of-the-vibration-of-the-roof-element-7152N

CONTROL

of digital accelerometer ZET 7152-N-VER.1

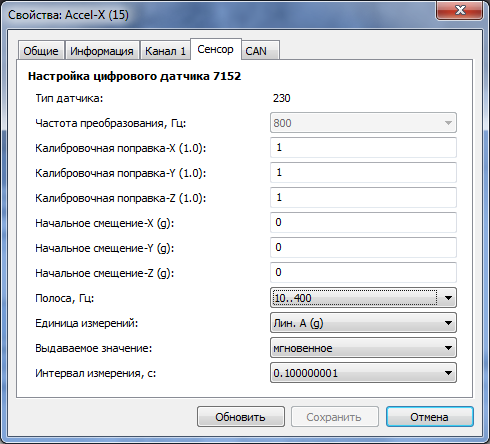
Digital transducers are fully ready for operation — all the essential settings are saved in memory when device is manufactured. Should you need to configure it while in operation, you have to connect the transducer to computer over interface converter, and run ZETLAB software — Device Manager. Settings can be changed in “Sensor” tab.

Control window 7152N

Configuring ZET 7152-N

PARAMETER VARIABILITY PERMISSIBLE VALUES DESCRIPTION
Transducer type No 230,…,… Internal information on type of primary transducer
Conversion frequency, Hz No 800 Frequency the transducer outputs data at, when you selected option «Output value» — “Instantaneous”. For “Averaged” value, the transducer outputs data at 10 Hz frequency
Correction gain-X,
Correction gain-Y,
Correction gain-Z
Yes Not limited Calibration factor, applied to benchmark data prior to filtration
Initial displacement-X,
Initial displacement -Y,
Initial displacement -Z
Yes Not limited Calibration correction, applied to benchmark data prior to filtration
Band, Hz Yes 3..400 10..400 Select measurement frequency range. For low frequency work, you have to select “3‑400” value from the list. If measurements are done with 10 Hz frequency and higher, select “10-400” from the list
Unit Yes Lin.acceleration A (g)
Vibration acceleration A (g)
Vibration velocity V (mm/s)
Vibr.displacement. S (mm)
Output data parameter selection
Issued value Yes Instantaneous
Averaged
Signal processing type selection
Measurement interval, s Yes 0.1, 1, 10 Time to compute value when selected option “Issued value” — “Averaged”

Full manual for digital transducers configuration can be found here: Configuration Manual.

Download

user manual for operation of the digital transducers

Digital sensor is represented by vibration transducer with an integrated triaxial sensing element, converting acceleration value into digital code for each of the three mutually transverse axes X, Y and Z. When installing the digital sensor on controlled object surface it is necessary to observe direction of vibrational axes.

If “Linear acceleration” parameter is set as the measured value, the measurements will be performed in accordance with the constant component, hence the initial value by Z axis will be  equal to gravity force (1 g).

In the case if there is a need to disregard this value, one can change the initial values by means of “Formula” program from ZETLAB SENSOR Software package.

METROLOGICAL SELF-MONITORING

of digital accelerometer ZET 7152-N-VER.1

In Digital accelerometer ZET 7152-N-VER.1, function of metrological diagnostic self-monitoring is implemented — in particular, auto-check of transducer serviceability while being in operation. Based on positive results of metrological self-monitoring, it is possible to increase inter-verification interval without standard verification procedure.

There has been developed a special software for metrological self-monitoring of ZETSENSOR digital transducers in automated mode.

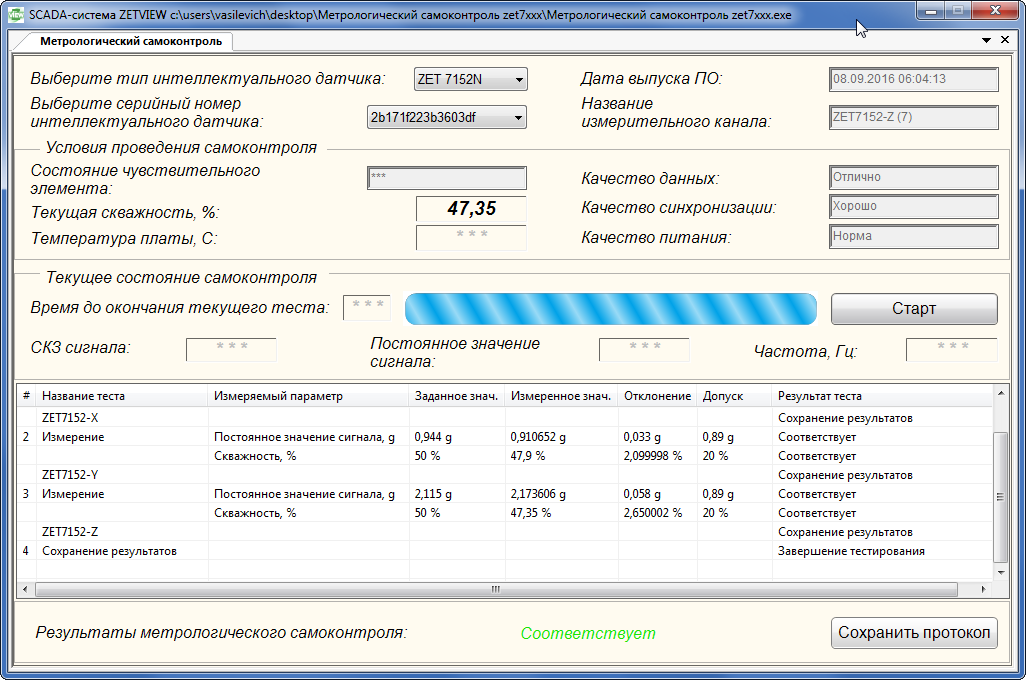
Main window of “Metrological self-monitoring ZET 7XXX” software is shown in the figure. The “Metrological self-monitoring” tab allows the user to select the type of device, test, controlling measurements routine, and to receive the self-check results.

Metrological self-control 7152N

Test impact types

AC - alternating signal

FR: «Required frequency value»: «Frequency tolerance» – alternating signal frequency;

AM: «Required signal amplitude value»: «Signal amplitude tolerance» – alternating signal amplitude;

OF: «Generated signal bias»: «Generated signal bias tolerance» – generated signal bias;

TM: «Signal analysis time» – signal control time (minimal signal analysis time for transient processes or long-time tests)

Example:
AC;FR:0.5:0.01;AM:0.4:0.002;OF:0.1:0.0001;TM:5
Alternating signal with frequency: 0.5 ± 0.01 Hz, amplitude: 0.4 ± 0.002 V, bias: 0.1 ± 0.0001 V, minimal signal control time – 5 s.

DC - constant signal

LE: «Required signal level»: «Signal level tolerance» – generated signal level.

TM: «Signal analysis time» – control signal time (signal analysis minimal time for transient and long-time processes tests)

Example:
DC;LE:0.5:0.001;TM:5
constant signal: 0.5 ± 0.001 V, minimal signal control time – 5 s.

ST1 - stepwise change

AM: «Minimal value»: «Maximum value» – change range.

TM: «Signal setting time» – time before signal control start

Example:
ST1;AM:100:200;TM:5
stepwise change: for 100..200 units, minimal signal control time – 5 s.

ST2 - stepwise change

MD: «Minimal change»: «Maximum change» – change amplitude.

TM: «Signal setting time» – time before signal control start

Example:
ST2;MD:10:10.5;TM:6
stepwise change: for 10..10.5 units in modulus, minimal signal control time – 6 s.

PPS - Pulse-per-second signal

SP: «Acceptable counts deviation» – amount of counts before or after start of a second.

Level change to be checked one time in a second.

Example:
PPS;SP:2 –
the change should take place in the beginning of a second, 2 counts.

Device type is selected from the dropdown list. To select the device type you have to left-click the element, and to select the required device to be checked from the pop-up list.

Selector is used to choose the test. To change test number you have to left-click the number and to set the required value with the scroll wheel. If self-check is run, selector remains inactive till the moment the user stops the project operation or till the self-check is finished.
There is a button to activate and stop the measurements. During diagnostics the button is green, and grey when the diagnostics process is suspended.

Indicator serves as a timer showing how much time is left before the current test is finished. It takes the count after any test is begun. Test results are shown in the log.

STANDARD CONFIGURATION

of ZET 7152-N-VER.1 digital accelerometers

Basic-delivery-set

Standard transducer supply package includes the following:

  • Digital accelerometer ZET 7152-N-VER.1;
  • FQ14-4TJ-7 cable plug (2 pcs.);
  • 7 mm spring connection to plug (2 pcs.);
  • package of operational documents

POR (price on request)

* Minimum order value: from 7 700 USD

Order form - If you want to place an order or to make a request regarding technical specifications of particular product, fill out the form below:

Necessary measuring equipment

Supplied upon special order

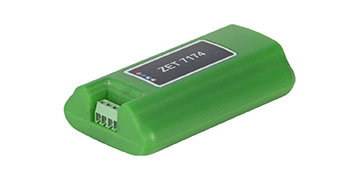
ZET 7174
ZET 7174
Connection via USB

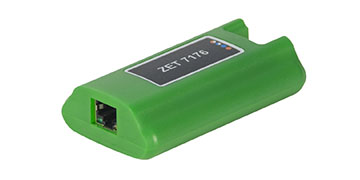
ZET 7176
ZET 7176
Ethernet connection

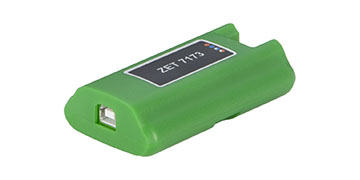
ZET 7173
ZET 7173
Offline operation mode

Data protection notification

Please note that the personal data provided by you is used exclusively for the purposes of fulfilling our contractual obligations, including, but not limited to: issuing invoices, delivery documents, documentation relating to customs clearance process, etc. We do not provide your personal data to any third party except for the purposes relating to our direct contractual obligations. Upon completion of order processing and expiry of the warranty period for the Products provided by our Company, we do not store or process any of your personal data. Please note, that our Company’s Confidential policy does not imply any advertising or marketing activities with the use of your personal data (including your Company name, address, your E-mail, phone number and other information provided by you with a view to placing an Order and organization of the Delivery).